> ## Documentation Index
> Fetch the complete documentation index at: https://alore.mintlify.site/llms.txt
> Use this file to discover all available pages before exploring further.
# How to setup the perfect time to reach your customers
**Step 01**: Go to [campaign.alore.io](https://campaign.alore.io/) and login
using your credentials.
**Step 02**: Go to the campaign you run.
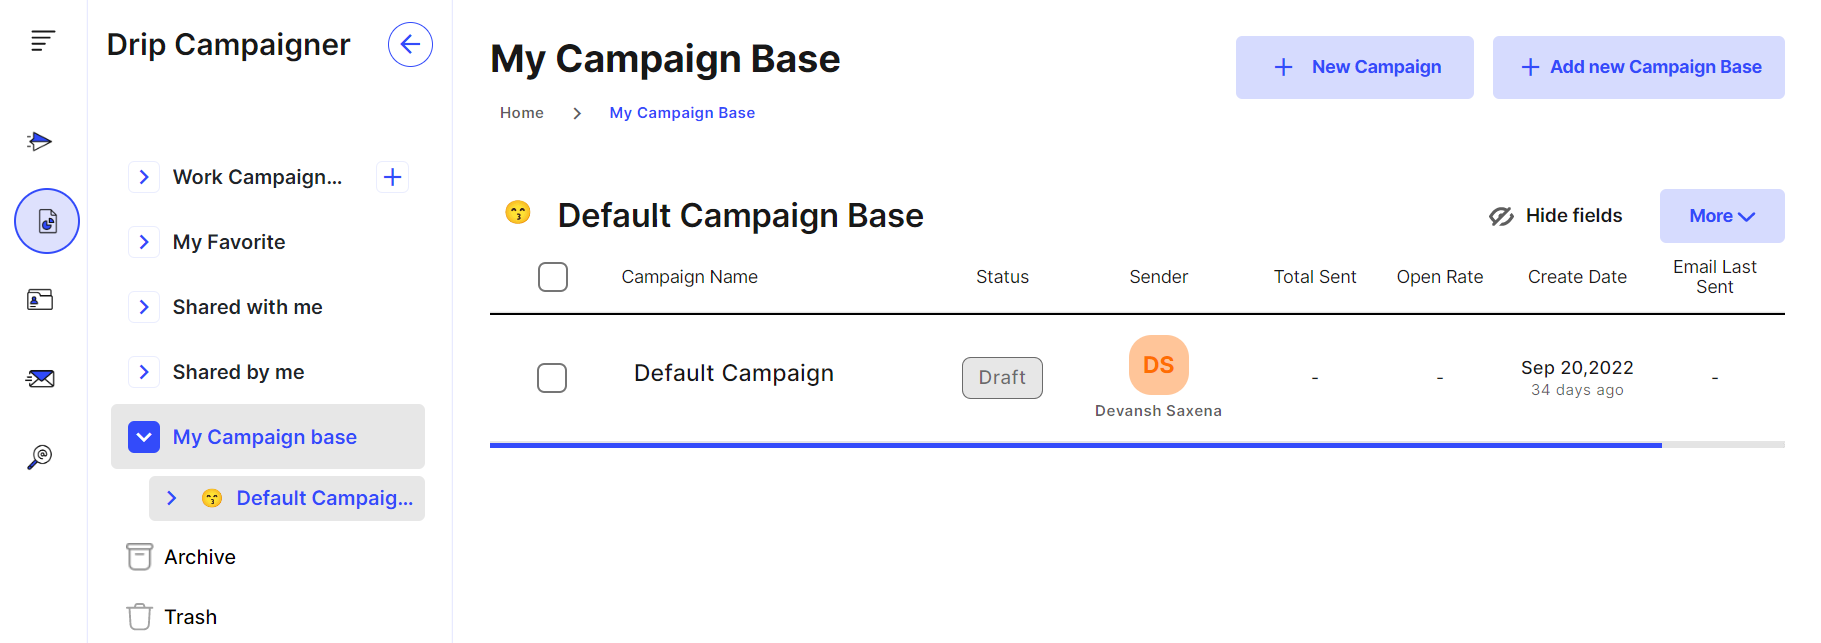
**Step 03**: Inside the Campaign go to the Mail Sequence .
**Step 04**: At the extreme right, In the option of campaign Details. Click on
the three dots presents which contains :
-> Daily mail sent
-> Time Zone
-> Date & timings
-> Interval
-> Edit days
**Step 05**: Click on Date & Timings option and A pop-up box will appear where
you can assign the days and timings to send the predefined mails to members of
the organization.
Here the campaign holder can customize the dates, timings accordingly. There
are already some pre-recommended time zones & time laps to send mails.
***
### Related Articles: