 Step 02: Under the navigation button there are several Campaign types. .
Click on the arrow present in the left side of the Work Campaign. Base and
Select the campaign from there.
Step 02: Under the navigation button there are several Campaign types. .
Click on the arrow present in the left side of the Work Campaign. Base and
Select the campaign from there.
 Step 03: Here are various details about the campaign including :
- Analytics
- Mail Sequences
- Database
- Activity
- Settings
 Step 04: Email Edit page consist of various options and parameters to right
a perfect email according to the campaign’s motive.
Step 04: Email Edit page consist of various options and parameters to right
a perfect email according to the campaign’s motive.
 Paragraph = Changes the formatting (Heading 1, Heading 2, Normal )
- B = Bold (ctrl + B)
- I = italic (ctrl + I)
- U = Underline (ctrl + U)
- /S = Strikethrough (ctrl + S)
- /T = Remove formatting
 Step 06: Can Change the text color as well as the background color.
 Step 07: Can Insert a Image, Attach a File as well as Add a link.
 Step 08: Can Increase or Decrease the indent, Insert a Quote as well as
Contains options to Undo or Redo.
Step 08: Can Increase or Decrease the indent, Insert a Quote as well as
Contains options to Undo or Redo.
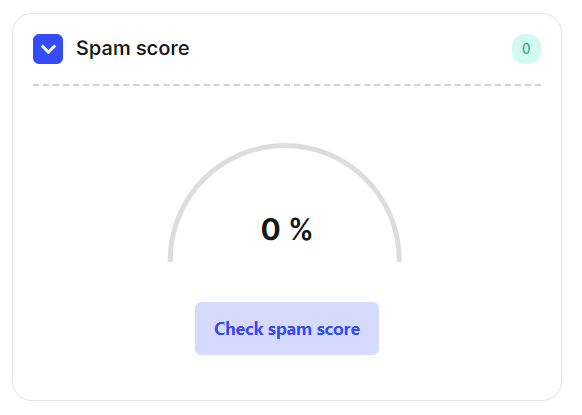
 Term (a): In the Right Side there is a Calculator which calculates the
percentage or treating your mail as Spam.
Note : “if the percentage is high then the mail which you are sending will always be treated as a Spam to others”
Term (a): In the Right Side there is a Calculator which calculates the
percentage or treating your mail as Spam.
Note : “if the percentage is high then the mail which you are sending will always be treated as a Spam to others”
 Term (b): This is the suggestion/ Recommendation back which tracks the mail
you are typing and suggests some more efficient way to type.
Term (b): This is the suggestion/ Recommendation back which tracks the mail
you are typing and suggests some more efficient way to type.
 Step 9: Testing time!
 Once the process is Done you’ll get to see a popup message in a Green Box which
represents the Successful accomplishment of the mail to the tracker and Spam
Calculator.
Once the process is Done you’ll get to see a popup message in a Green Box which
represents the Successful accomplishment of the mail to the tracker and Spam
Calculator.

To Save the Email
- There is a Save button present in the top right corner of the Email Editor Page Click on it and your Email will be Saved.