Step 02: Click on the profile option and then click on “Manage your Google
Account”
Step 02: Click on the profile option and then click on “Manage your Google
Account”
 Step 03: Click on the “Security” option present in the left side and then
Click on the “2-Step authentication” option.
Step 03: Click on the “Security” option present in the left side and then
Click on the “2-Step authentication” option.
 Step 04: After clicking on “2 – step authentication” enter the user Id and
Password.
Step 04: After clicking on “2 – step authentication” enter the user Id and
Password.
 Step 05: Now, Enter the registered number and then the code send to the
registered number.
Step 05: Now, Enter the registered number and then the code send to the
registered number.
 Step 06: The “2-Step Verification” has been successfully Implemented on your
Gmail Account.
Step 06: The “2-Step Verification” has been successfully Implemented on your
Gmail Account.
Setting up App Password
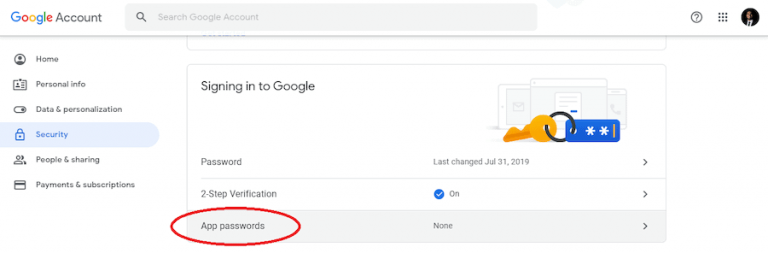
Step 01: Go to the Google Account and click on the Security option present in the left panel.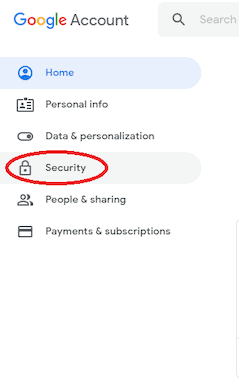 Step 02: Scroll down in the “Signing in Google tab” select “App Password”
Option.
Step 02: Scroll down in the “Signing in Google tab” select “App Password”
Option.
If the App Password is not listen in your account then, these are some of the reasons of it:
- Two-step verification is not set up for your Google account.
- Two-step verification is set up for security keys only.
- Your account is used through work, school, or another organization.
- You’ve turned on Advanced Protection for your account.
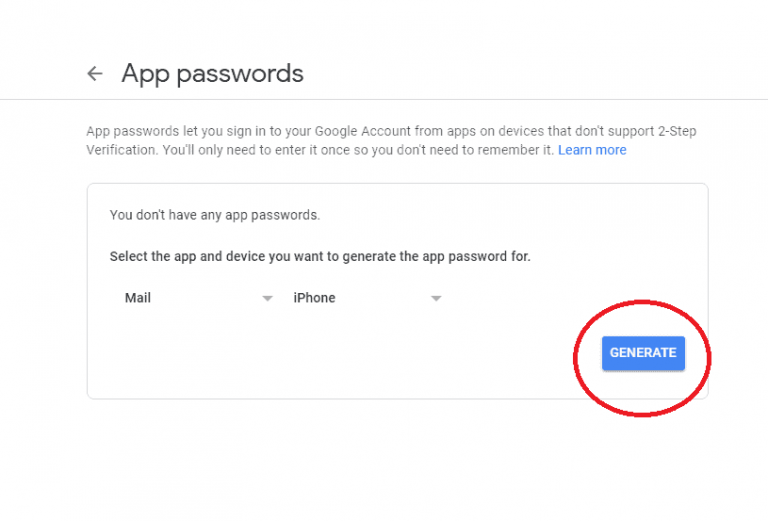
 Step 04: Secondly, Select the Device you are using.
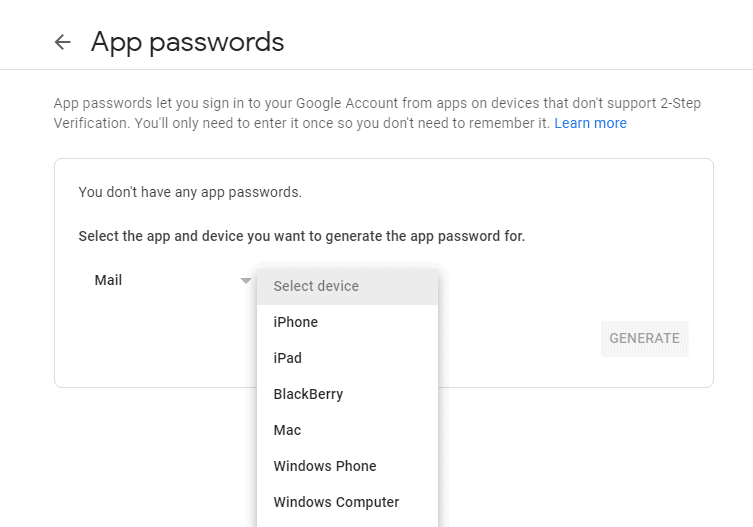 Step 05: Now, Click Generate Button.
 **Step 06: Follow the already provided Instructions to Setup the App Password.
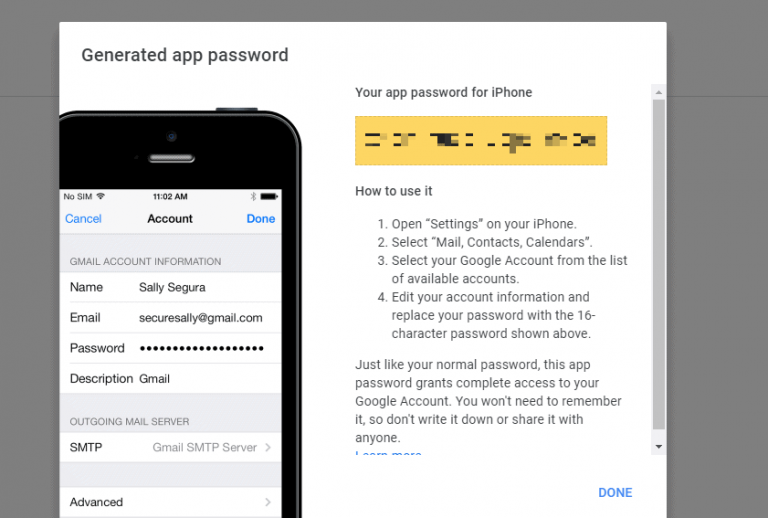 Step 07: Click on Done!
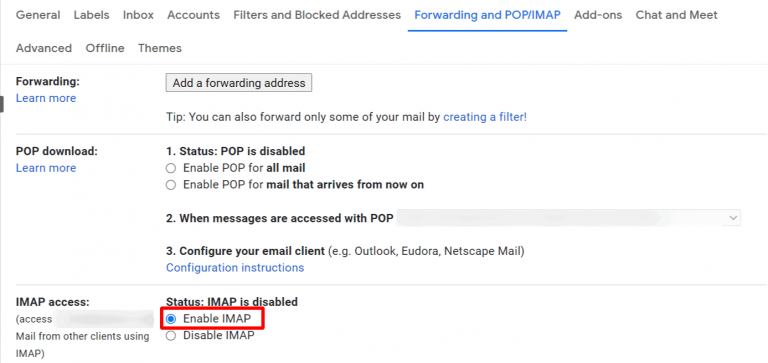
Setting up IMAP
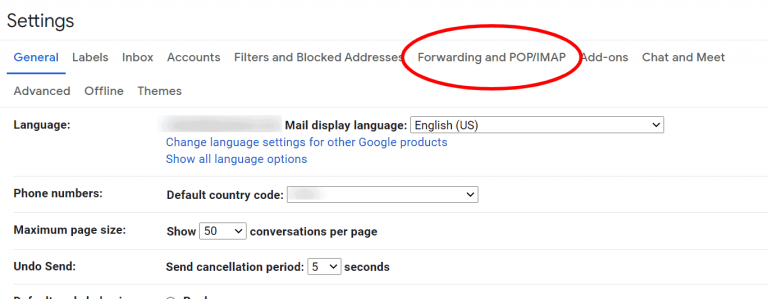
Step 01: Now, Login to your Gmail Account and Click on the settings option present at the top right corner of the screen.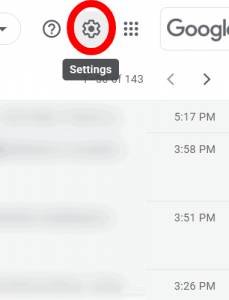 Step 02: Open the Settings and Click on Forwarding and POP/IMAP option.
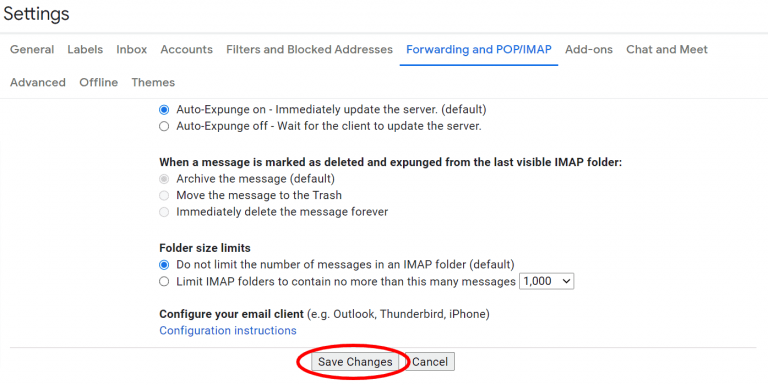
 Step 03: Now in the IMAP Access Option Click on Enable IMAP option and Then
Click on Save Change.
Step 03: Now in the IMAP Access Option Click on Enable IMAP option and Then
Click on Save Change.
 Step 04: Success!
Setting up POP
Step 01: Step 01 and Step 02 will be the same as there in IMAP Settings. Step 02: There is a POP Download section, Click on Enable POP for all mail or Enable pop for mail which’ll arrive now onwards.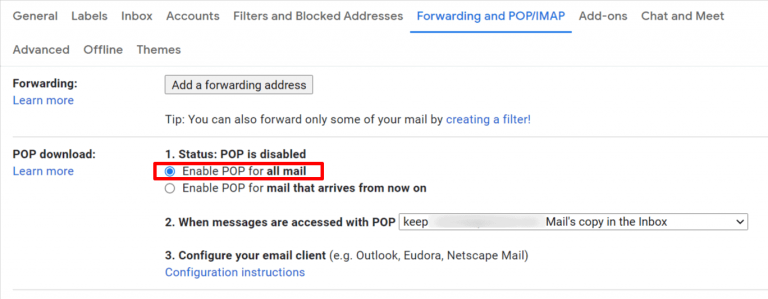 Step 03: Now Click on “Save Changes”.